
Micro-Tutorial: Work Flow
Introduction
One of the top comments in a survey thread I made in 2014 was to create small 'bite sized' tutorials. This is the third in that series of tutorials; you can see the other tutorials here.
With the recent success of Gundam Build Fighters more and more people have become interested in custom mobile suits, paint jobs and kit bashing. In this micro tutorial I am going to offer some basic tips and tricks for maximizing your build time and keeping you motivated.
I'll start by discussing how my
work flow works, and why I have decided to work this way. You can also check out some general tips towards the bottom of the post.
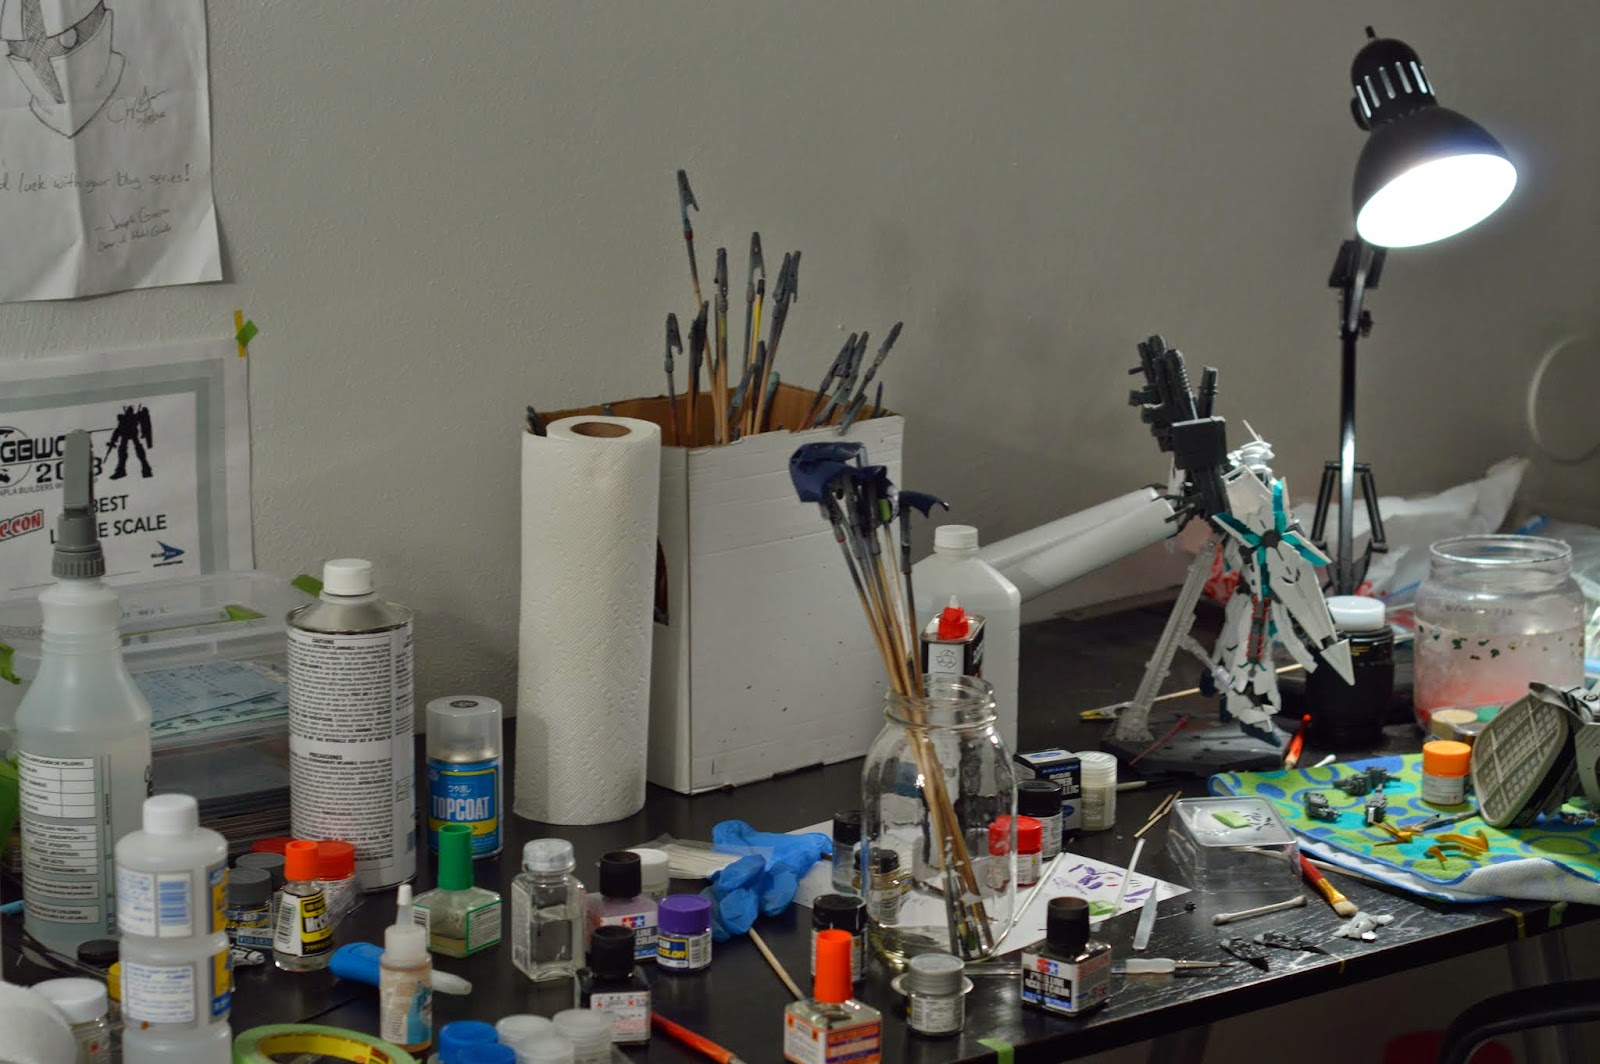
Preparation:
When I first sit down to build a
new kit I do a few things. First, I open every bag in the kit and remove all of
the runners. If decals are packed in their own bag I leave them in the bag until their needed.
I'll look over the runners and try to take a mental inventory of what colors
are on what runners. I'll then sort the runners by color and place them in the
box until needed. Once the kit is ready I'll grab the tools I know I will need:
nippers, knife and sand paper; and I'll lay them out wherever I am working.
Building:
When I build I like to streamline
my process in a few ways. If a step in the manual requires me to cut out
several parts I will cut them all out at once. I will also cut off the nubs of
all parts in a step with my knife all at once and sand all at once, I have
found that this cuts down on the time it takes swapping tools. If a step is to
be repeated two or more times I will cut all of the parts out necessary to
build both sets.

When assembling pieces that use
several 'plug' type connectors I will modify them by removing a small portion
of material before assembling them. I do this by cutting a few mms at a 45 degree angle from each plug. This makes taking the parts apart easier
and reduces the chance of damaging the parts while trying to pull them
apart.
Modification:
I use the build process as a way
of understanding how parts fit and work together. At this point I will begin to
fuse seam lines, add panel lines by scribing and add optional parts. I
will typically keep the kit as complete as I can throughout this process, as it
helps me to visualize what the final product will look like.
Paint Prep:
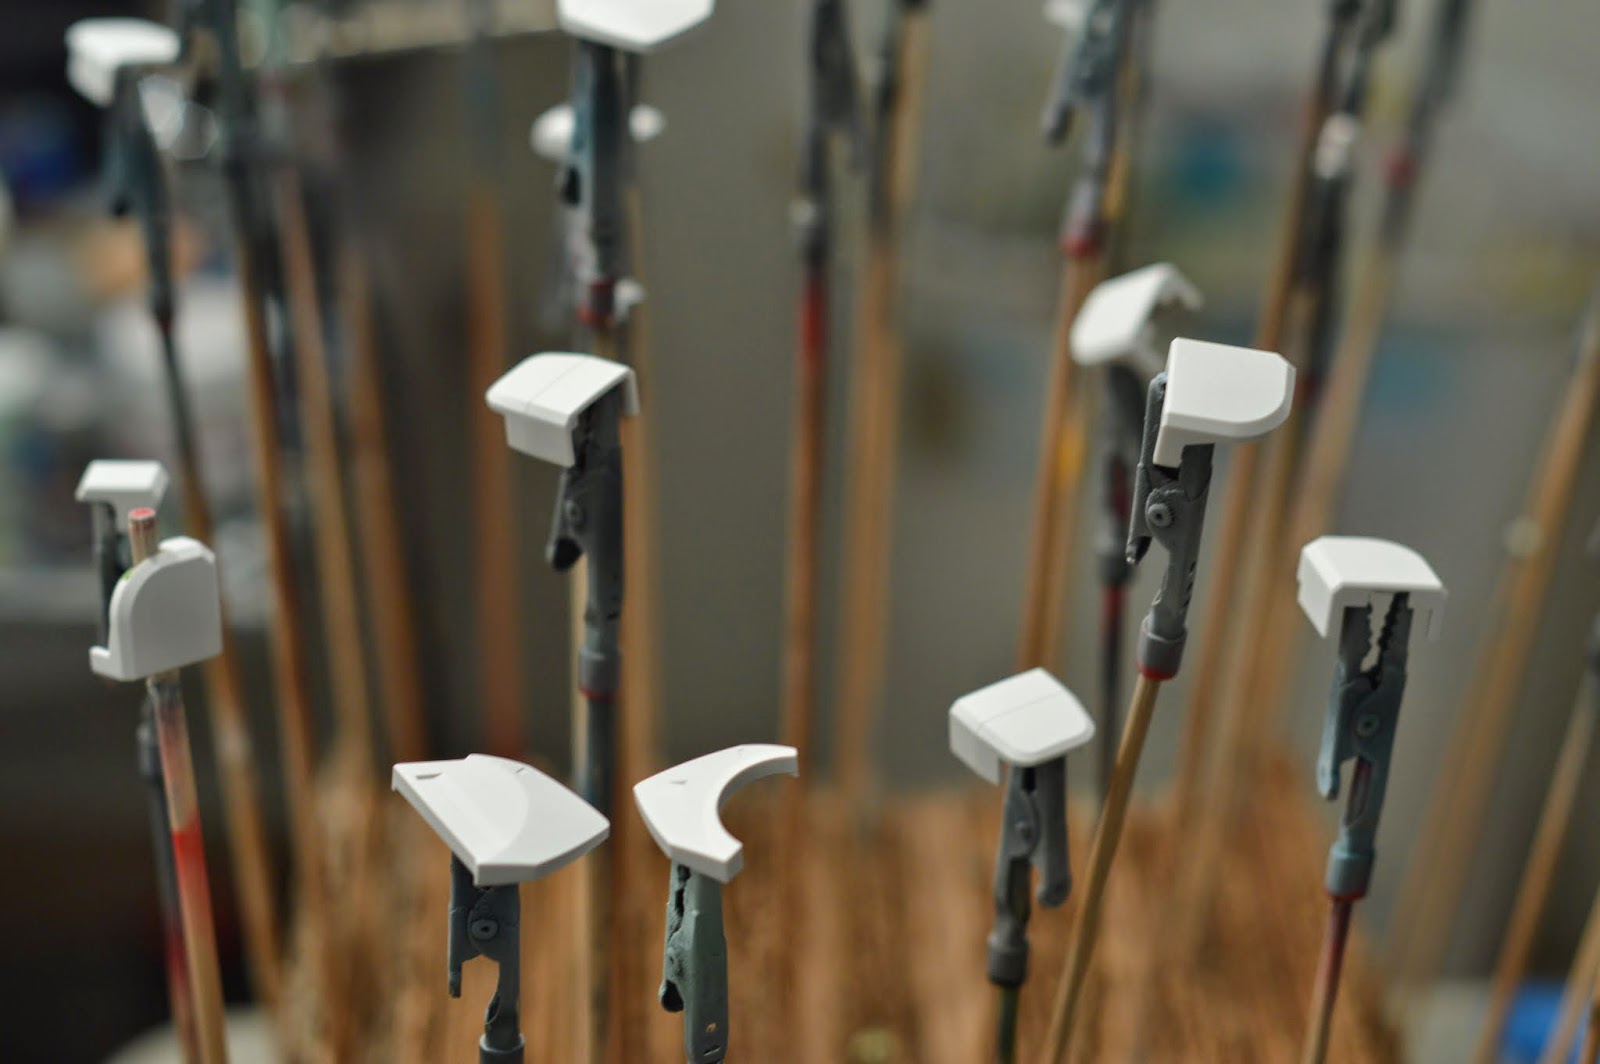
Once the kit is ready for paint I will break it down to the individual component parts and throw them directly into my
part washer. After the parts have been cleaned and thoroughly rinsed I spread
them out on a towel and allow them to dry. As they dry I will separate them by
the color I intend to paint them. If a part will require a few separate
colors I will sort them into the lightest color pile. Once the parts have
dried I will place parts on skewers. I will typically place 1 entire color on
skewers at one time to minimize confusion.
When painting I typically start with the lightest color group and move to the darkest. I paint in this order to ensure that if a piece requires multiple colors then the lightest will be the first to be painted.
When painting I typically start with the lightest color group and move to the darkest. I paint in this order to ensure that if a piece requires multiple colors then the lightest will be the first to be painted.
Painting:
Once I have all of a given color
on skewers I will start by priming every part of that color and then paint
every part of that color. Painting this way saves time and paint by reducing
the number of times I need to clean out my airbrush to change colors.
I use two separate airbrushed for
painting, I use a higher flow brush (Badger Patriot 105) for large pieces and spray heavy work like primer and topcoat, and I use a more precise brush (Badger
Krome) for finer detail work, shading and smaller parts.
Decaling:
Certain kits mostly Ver. Ka
models will feature the same secondary decals in multiple places. To save time
I will cut out a chunk typically 5 or 6 of the same decal on one sheet and
apply them all at once. Decaling in this manner can greatly reduce the amount
of time spent decaling.
Let's
think of this mathematically:
Let's say that he have a kit with
40 of the same decal that need to applied. Every decal will require t amount of time soaking in water to
activate the adhesive. If you were to cut out each individual decal and
soak them separately one at a time you would spend a total of 40t waiting for the decals to activate.
However, if you soak decals in chunks of 5 suddenly the total soak time is 8t.
To put this in context most decals will take 30 seconds to activate; in this
example that's the difference between waiting 20 minutes or 4 minutes! You will
also save time swapping tools and cutting the decals off the waterslide
set.
This tip may not be ideal for
novice waterslide decal users, but for those builders that decal regularly
should have no problem.
Top coating:
Once I am done decaling and
detailing I will reassemble parts into a few basic sub units like the head,
arms legs, waist etc. working this way can reduce the number of individual
parts that need to go through the top coating process.
General tips:
Build when you want
Modeling is supposed to be a fun past time, don't force yourself to build if you don't want to. You will be more likely to rush and make mistakes.
Take breaks
Just like working when you want to, taking frequent breaks while building will help you avoid making careless mistakes.
Dedicate a space
If you can, dedicate a space to work on and store your kits it will be easier to find missing parts if you only build in one area.
Use plenty of lighting
Most parts are pretty small,
having sufficient lighting can greatly reduce eye strain
Stay organized
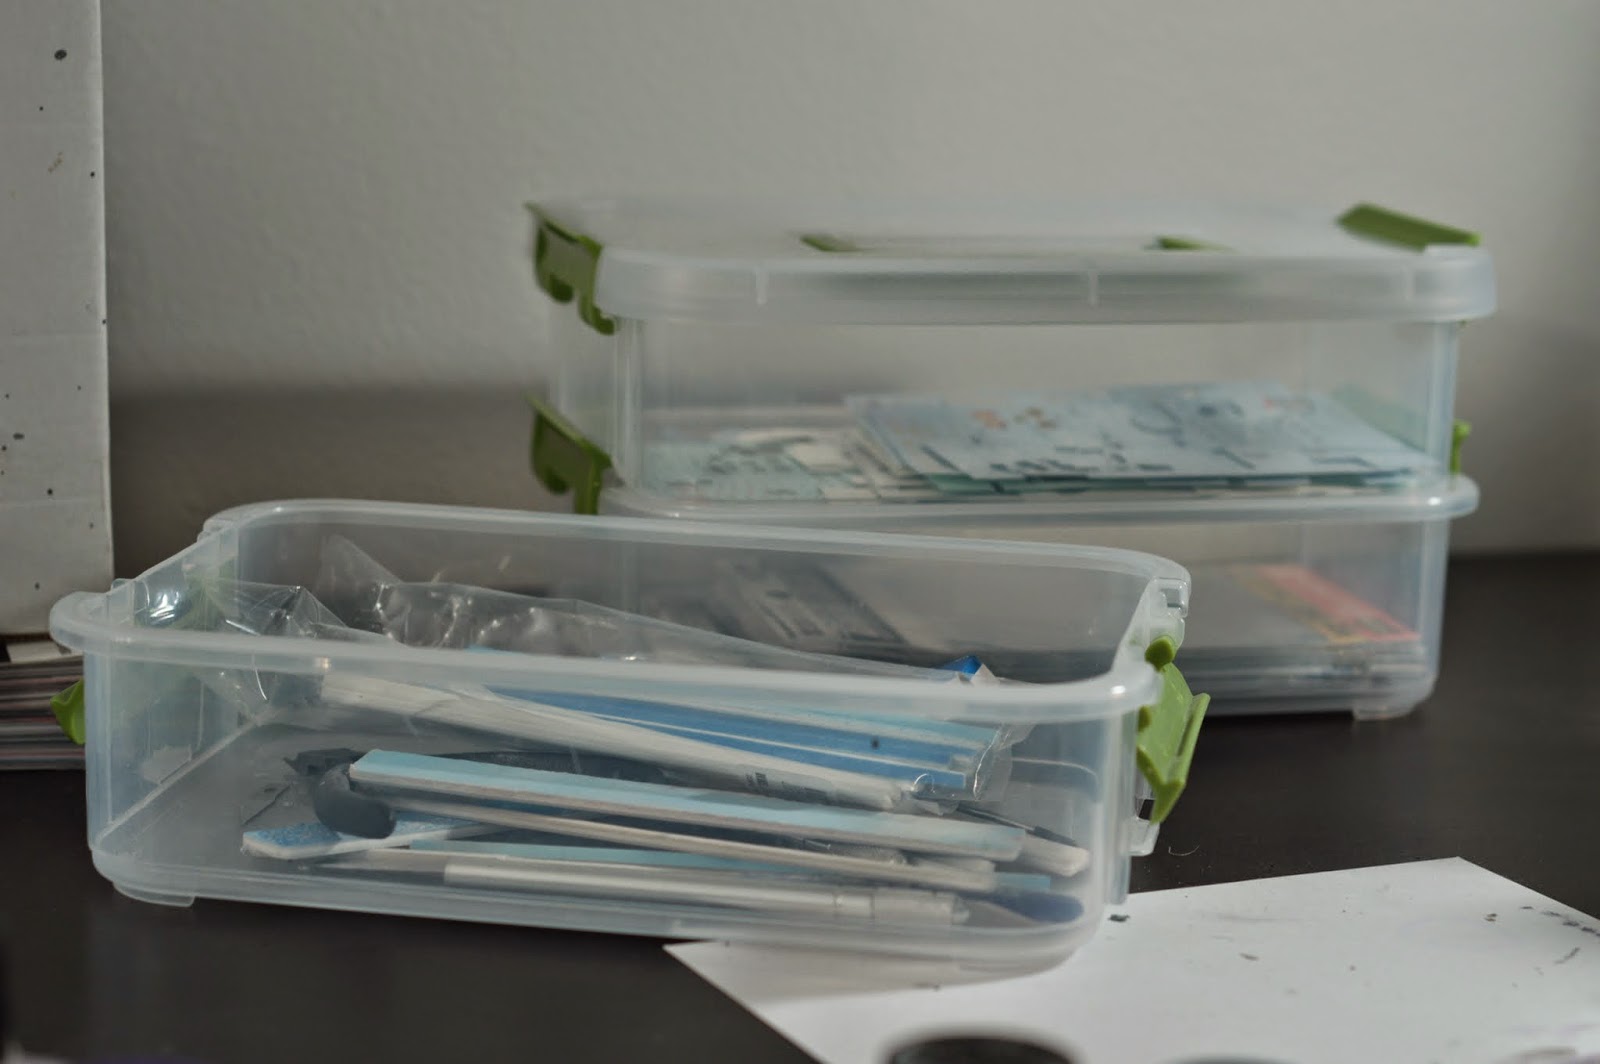
Buy small plastic storage
containers like this to store your tools, decals and other materials. Staying
organized will cut down the amount of time you'll spend looking for missing
tools or other parts.
Break down kits by sections

If you have trouble keeping track
of parts or polycaps by location on the body find a way to organize and store
them by their location. I will use these small soft boxes to hold the
arms, legs and other parts if I feel that I can't track of them
mentally.
Build weapons or optional items first
A lot of builders (myself included) will succumb to what some people call 'weapon fatigue'. For lack of a better name, 'weapon fatigue' refers to feeling "burnt out" around the time you get to the weapons or extra bits at the end of the build. I've found that I can get around this easily by building those parts first, because I still feel motivated to finish the MS.
Comments
Post a Comment