
PG Wing Zero Custom Commission
Progress: Construction and painting
Unlike most of my commission projects where I build the entire kit before painting I am going to build and paint this model in sections. I am doing this because of the complexity and reliance on screws and bolts to hold the model together.
First up are the arms.
The arms already came partially assembled, I disassembled, sanded and cleaned up what was already together and then began on the remainder.
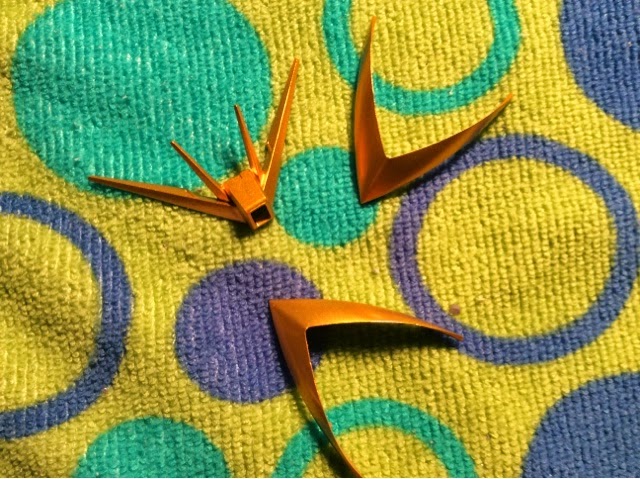
This kit is going to feature the standard wing zero color scheme with the exception of the yellow shoulder trim and v fin pieces. I painted these parts first with a layer of star bright gold and then two coats of clear yellow to add shine and luster.

The frame of the arms have been complete paint and reassembled. The chrome details were repainted with duralinium.

I hand painted the silver and dark grey parts in the shoulder. I think these pieces are supposed to represent artificial musculature.

I've been sick as a dog for the last week and have had trouble breathing let alone wearing a respirator. I haven't been able to paint, so I've been working on more of the body parts and I've figured out how I'm going to handle the seamlines on the wings.

I've started by fusing the seamlines on the cover on the lower section of the wings as well as the grey supports from the backpack that connect into the wing. I'll paint both of these sections than assembled the two halves of the wing on top of them. I'll the. Fuse the seamlines down the wing before painting the large wing section.
Then seamlines on the grey supports were particularly ugly. If your going to build this kit you can expect these parts to be slightly misaligned.
I've started to feel better and many of the paints I was waiting on have arrived.
Update 3:


Once the paint cured I applied a black enamel wash to pull out the details of the figure.


The forearms and hands are now partially assembled.
Update 4:

I have now painted all of the red and blue parts on the kit. The blue color is a custom mix of gx blue, purple, black and neutral gray, the color is very close to the plastic color of the kit, but it is slightly more saturated than the plastic color. I chose to use a more saturated blue color because it looks better next to the bright gold than a less saturated color.


The shoulders and both arms are now fully assembled, as are the feet and the head. I've started building the secondary wings up by painting the grey pylons and the interal feather mechanism. The next step is to full assembled and fuse the seamlines of the secondary wing afterwards I will mask and paint the remainder.


I have lined just about every parts that has been painted. I decided to buy some new toys for this project, including Tamiya's grey and dark brown panel wash. I am using black panel wash on the grey and blue parts, grey panel wash on the white parts and dark brown panel wash on the red parts.

I didn't have and batteries to test the led so I opened by the 1/35 zaku head I built last year and used that existing circuit to test the wiring in Zero's head, everything works!

I will be working on the waist and chest next in addition to the secondary wings.
The next update is going to be a little ways off, we're currently experiencing extremely cold weather in my region. This has greatly impacted my ability to paint.
This morning when I woke up the temperature was -8F/-22C or -27F/-32C with a wind chill. Despite the cold weather I was able to get some painting done over the weekend.
Update 5:
I fused the seamlines along the secondary wings. This was slightly more difficult than the seams I've fixed in the past due to the larger scale of the kit. Afterwards I applied a coat of white primer and filled any imperfections with Mr. Dissolved putty to get a smooth finish. several coats of white later I achieved a nice glossy finish. I also painted the primary wings during this time.


These wing pieces are the single largest individual gunpla parts I have ever painted.


The mechanism in the chest responsible for controlling the arm movement is held together with a series of small metal pins. Installation needs to be done with a pair of pliers. Needless to say this was a bit nerve racking, I definitely did not want to crack the plastic.


Wiring the led inside of the chest was more difficult than the head. Like the head led I tested the chest light out using the existing circuit in my 1/35 Zaku Head.
Due to the wiring coming from the head, the head needs to be attached to the chest at this point. Once the back armor is attached to the chest you can't route the wires into the backpack.

Lighting works!
Principle painting on the Wing Zero is done at this point. The only part still requiring paint is the twin buster rifle. I fused the long seam lines on the rifle tonight. Once the glue is fully cured I'll clean them up and prep them for paint.

Unlike more recent PGs like the Strike, the Wing Zero's skeleton is much less bulky.


I wonder if the PG Wing Zero functioned as a prototype for the movable armor sections seen on most modern MG and RG kits.


Although I was only testing the articulation of the arms in this photo, it ended up looking like the stereotypical stoner "dude may hands are huge" pose. Also I noticed at this point that the V fin doesn't stay attached to the head very well.
Comments
Post a Comment